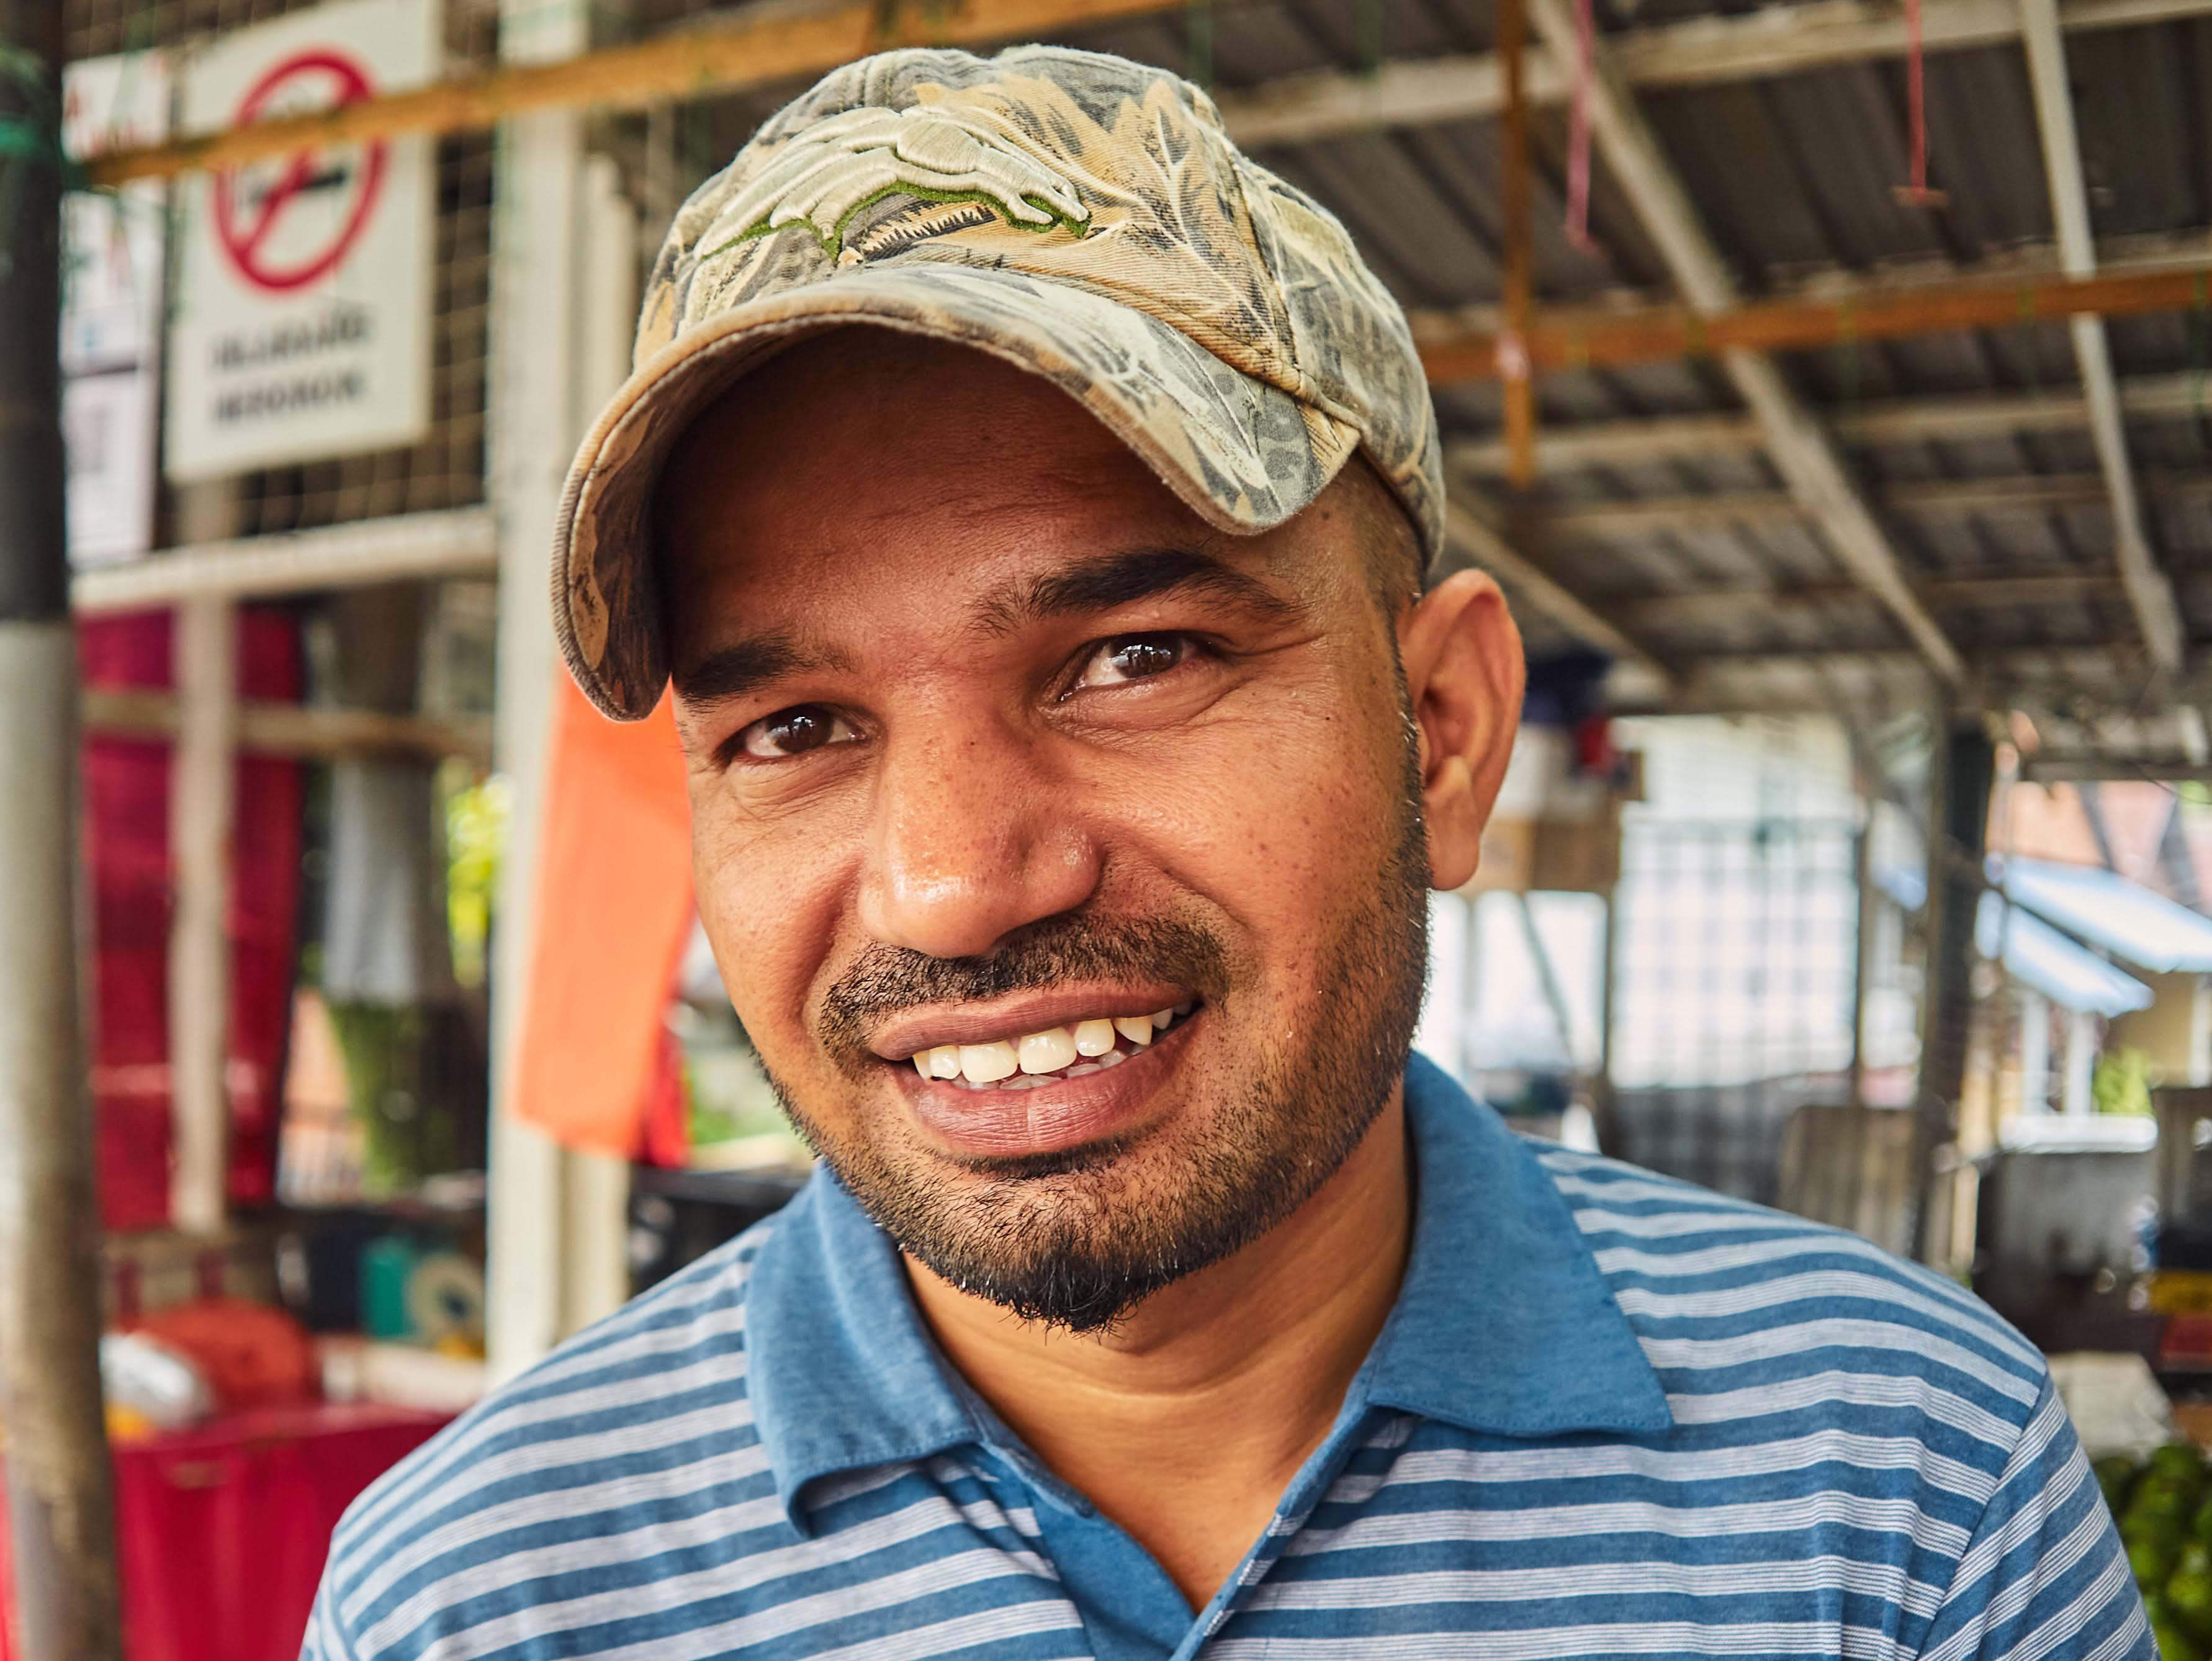
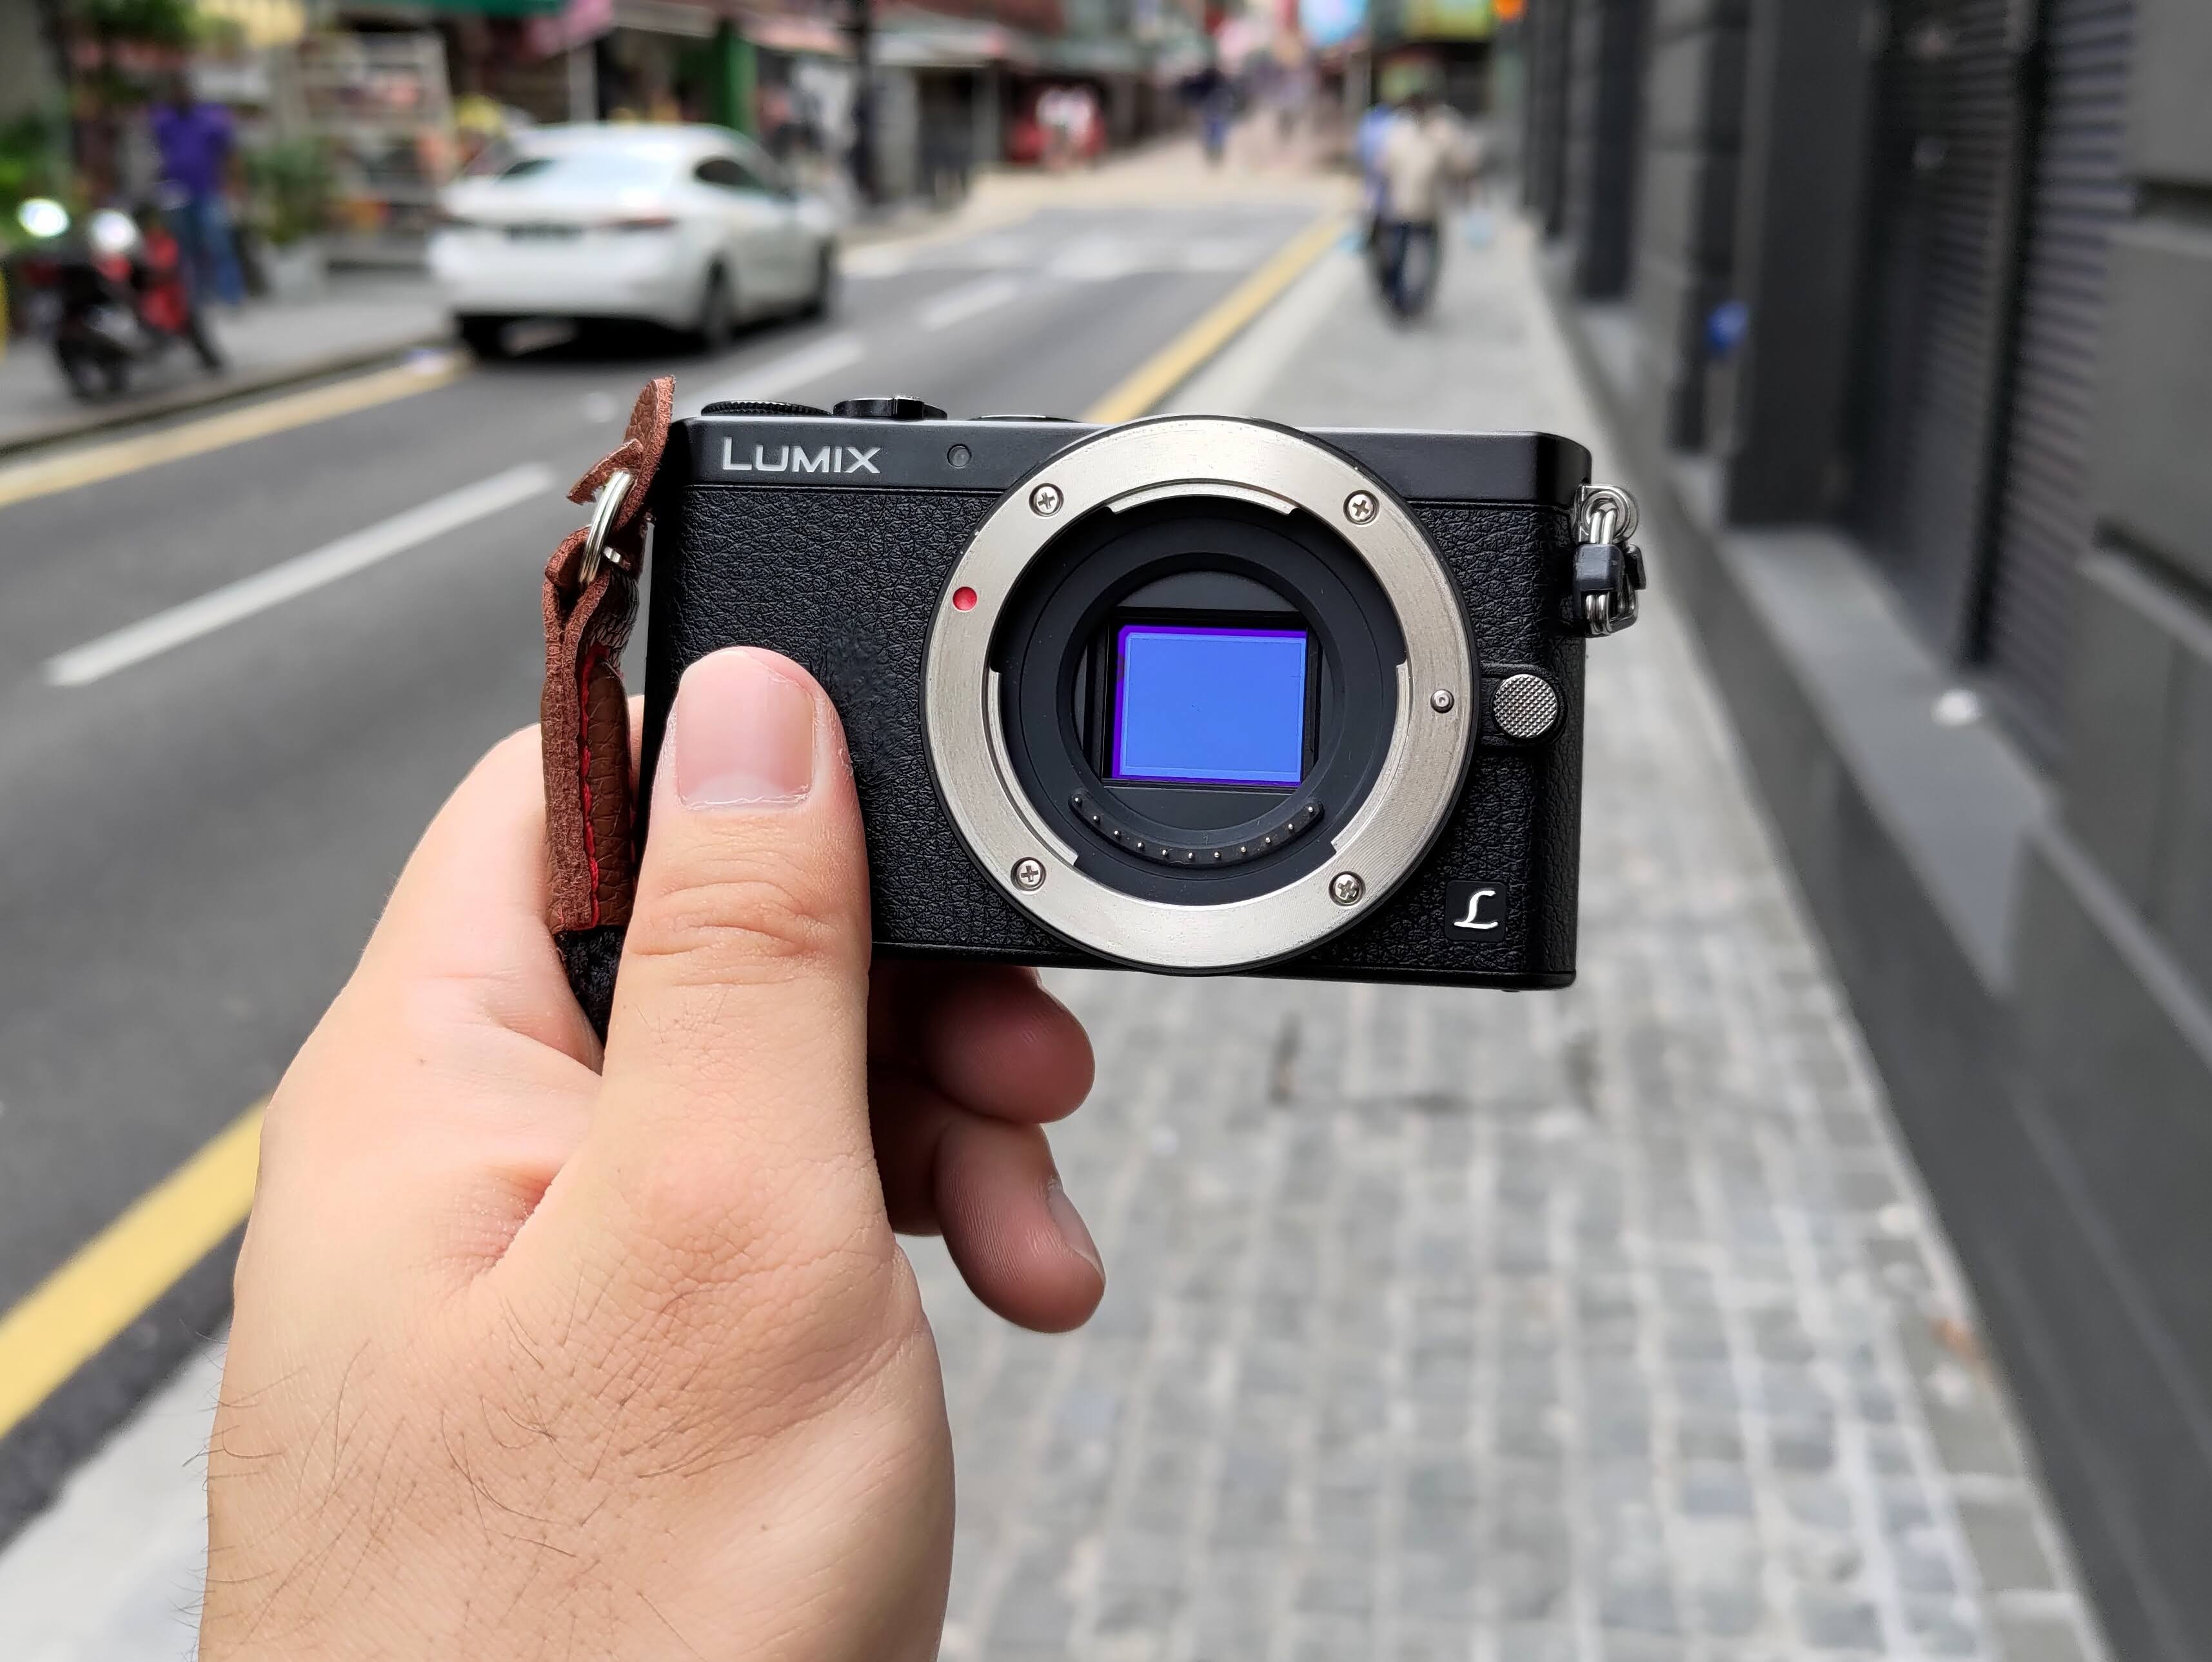
I hear a lot of people saying we should not go high ISO on Micro Four Thirds. While I agree larger sensor formats like full frame will always be superior when it comes to noise control at low light, high ISO environment, I don't see any reason why we cannot shoot high ISO with Micro Four Thirds. We should stop obsessing about high ISO noise, it is not the end of the world. and a good photograph is a good photograph regardless of noise. In my latest video on YouTube, I went to the streets at night and in many situations I needed to bump up my ISO up to 12800 to get my shots. You can see the new style POV video here, where I recorded my viewfinder screen, as if you were shooting with me on location!

E-M1 Mark III + 13-32mm kit lens shooting high ISO in low light
My friend Bihzhu has just launched a new song recently, "Jiwa Perkasa" and I was engaged as the offical photographer for the event. I am very proud to be involved in this project because I was there at the very beginning while the song was being recorded in studio! I was also there to witness the music video in production, so in a way, I was very involved in the making of Jiwa Perkasa almost every step along the way. I am super thankful and happy to be included and I thank Bihzhu for giving me this awesome opportunity. An important part of making impactful images is knowing what you are shooting well enough, and I cannot ask for more in this regard. I am sharing fresh images taken from the event coverage of  the launch. 

You can watch Bihzhu's latest video JIWA PERKASA here (click) 
If you are a Malaysian, do support our amazing local artist, follow Bihzhu on IG, FB and Spotify
I found a cheap used Olympus XZ-1 in great condition so I bought it and I used the XZ-1 as my travel camera on my recent work trip to Chiang Mai, Thailand. I did not have much time to myself for this trip as most of my time were spent shooting for a job, but I did find an empty morning slot and I decided to roam the streets with no plan, with just one compact camera, the XZ-1 and had some shutter therapy. Boy oh boy it was so, so fun to shoot at Chiang Mai, this was my first time there (I have visited Bangkok before, not Chiang Mai) and I must plan a trip here again soon just purely for my own photography. I have made a video to talk about my experience shooting with the XZ-1 here (click). 

Matti Sulanto was visiting Kuala Lumpur, so we met up with the gang and did some shutter therapy at Kampung Baru during the weekend. It was so good to see Matti after so many years, we did have a lot to catch up on, since we are both YouTube Content Creators discussing photography topics. For that walk, I brought along the Olympus PEN E-P1 and 17mm F2.8 Pancake, and had plenty of fun shooting around the village in the city. Light was bad, since it was cloudy, but I was not complaining because it has been raining on a daily basis for more than a week, interrupting a lot of my plans which required me to shoot outdoors. I did a POV video of course, you can check it out here (click). 

I am sharing fresh photographs taken with the Olympus 17mm F2.8 pancake lens, which is so flawed, but fun to use regardless!

About a month plus ago my friend Kieron, the Leica Ambassador (IG @kieronlong72) was visiting Kuala Lumpur and we did a short casual portrait shooting session with the awesome model friend, Wendy. The location was Tamarind Square, and I brought along the Canon 5D original with a cheap USD20 lens mounted on it, the old 50mm F1.8 II. There was nothing to write home about the lens, the build quality is bad, feels plasticky, the AF hunts, image quality was ok, not super sharp and optically it comes with some flaws like distortion, corner softness and purple fringing. You get what you pay for, and for a cheap lens, the nifty fifty delivered really good results, and I actually enjoyed shooting with it! I won't recommend this for serious professional use, but for a fun casual shoot, why not? I did a POV video here (click) for the session. I am sharing the images in this blog entry!

Many, many years ago I purchased the Panasonic GM1, loved the camera but sold it off to fund for the Olympus PEN E-P5, which was in every way an upgrade, except for compactness in size and weight. I did regret that decision, I genuinely loved having an incredibly small camera that houses full size Micro Four Thirds image sensor and can take all my lenses with no issue. Very recently I found a used unit in the marketplace and at a price I just cannot refuse! Boy oh boy, was I so excited to reacquire the GM1, and I could not wait to do some shutter therapy with it. 
I did a POV street shooting video with the GM1 here (click). 

I recently purchased a cheap Yongnuo 35mm F2 for about USD40. I wanted a 50mm equivalent lens for my Nikon D50, because 50mm is my favourite focal length for street photography. I brought the D50 and Yongnuo 35mm to Malacca streets over one weekend and did some street shooting there. I also recorded a POV video to show you what happened around and in front of me as I clicked the shutter button. You can find the POV video here (click). 

The most common obsession I have observed among photographers is to get clean high ISO shooting, and using Micro Four Thirds system is not exactly giving the best results as we know, full frame systems are superior when it comes to low light shooting. I am here to say this - do not let the limitation stop you or restrict your ability to capture great images. With or without noise, the images are more than just pixels and grains, what truly matters in photography are the subject content in the images, the expression and emotions and ultimately in many situations, the strong decisive moment. If you have all these even though your images are plagued with high ISO noise, you still deliver great results. 

Finally after a long search I found a used Olympus PEN E-P1 and I am loving it! It came with the Panasonic 25mm F1.7, which I did not need but the seller refused to sell the camera and lens separately. I thought this would be a great opportunity to shoot with the E-P1, and then explore the Panasonic 25mm which some of my audience have been asking me to. I brought the E-P1 to the Pudu Market in Kuala Lumpur, which is my favourite street hunting ground and did a POV video to show how I capture my shots. The video has been published, you can find it here (click). 


While testing the OM System 20mm F1.4 PRO for my review, I went to the part and did a casual lifestyle portrait shoot. The beautiful talent was Melanie, whom was such a joy to work with and the whole session was arranged by dear friend and Leica Ambassador, Kieron LongI took this opportunity to do a POV video as well to show a bit of what happened behind the scenes, what's in front and around my camera and bits and pieces of my small interactions with the model during the shoot. You can find the POV video here (click). As for the rest of this blog entry, I shall just spam the portrait images I have shot with the OM System 20mm F1.4 PRO on my own OM-D E-M1 Mark III camera. 

I always say that I prefer 50mm equivalent focal length for street photography or anything longer for portraits, but whenever I am not doing street or anything too serious, as a casual shooting lens I'd like something wider. Hence the hunt for a wider lens/camera combo began some time ago, starting with Fuji XF10 (28mm equiv lens), then there was Fuji X100F (35mm equiv) and a few other experimentations along the way. I recently found myself loving the Canon EF 35mm F2 on the dinosaur Canon 5D. Nothing to write home about this combo, but it just works. The images came out looking beautiful, the full frame produces just enough shallow depth of field to isolate my subjects yet maintaining a rather wide angle composition, and the prime lens kept the camera setup still relatively small and manageable. 

I went to Kuantan over a weekend which I have vlogged here (Part 1 and Part 2). For this blog entry, I am sharing some casual, random snapshots I took from the Canon 35mm lens! Nothing beats no-stress, spontaneous shutter clicking action from time tot time. 

It has been 3 years since I last saw Nadir performing live, no thanks to the pandemic and now finally I had a chance to see them again. I went to Riuh! Nao Malacca to catch them live and I shot them with my Olympus OM-D gear. I have captured a live music performance and published the video here (click). I also have shared my shooting experience using the M.Zuiko 75mm F1.8 and I talked about why I love that lens so much, that it was one of the reasons that kept me from jumping ship to full frame! Yeap, there was no other lens like the Olympus 75mm F1.8, truly unique, having super sharp optics, with 150mm equivalent reach, super bright at F1.8 yet being so small and light!

All images were taken with Olympus OM-D E-M1 Mark III and lenses M.Zuiko 75mm F1.8 or 12mm F2. 

I have just published my full review (video here) for the OM System 20mm F1.4 PRO lens yesterday on YouTube. This time I shall skip writing a blog article review, because I have been overwhelmed with work and travel recently. I have been travelling two weekends back to back, from previously in Kuantan for 3 days to just last weekend in Malacca for 4 days. In between I have shoots, meetings and still actively creating content for my YouTube, well, because YouTube videos pay my bills and that takes priority over this blog. I know some of you have mentioned you prefer reading reviews in article format than watching in video, but this time I have to just go with the video. 

I did bring the OM System 20mm F1.4 PRO out for street shooting, after all the 40mm equivalent focal length is popular for street photographers. I am sharing my photographs taken from the street outing, which I have also made a POV video (here) to show you how I got my shots. I am sharing some of my shots in this entry! All images shot on the E-M1 Mark III. 

I always believe in minimalism when it comes to my shutter therapy sessions. When I shoot on the street, I want to keep things as simple and as straightforward as possible, and I find a lot of new photographers struggle with this. I am sharing a few tips on how to shoot more effectively on the street and I think minimalism is the way to go. I have also done a POV street video showing you what's happening around and in front of me before I click the shutter button. This time I went to Petaling Street, Kuala Lumpur with my friends Jon Low and Andrew Chow and I was shooting with the Fujifilm X100F. POV video here (click). 

I got the OMSystem 20mm F1.4 PRO lens on loan OMD World (local distributor for Olympus/OMSystem) and I tagged along my friend Kieron Long (Leica Ambassador) to shoot at a fishermen village, Kampung Telaga Air in Borneo. I was visiting my mum in Kuching, so at the same time I took the opportunity to put the lens through some torture test. Special thanks to Suffian Sabeli who hosted us and became our tour guide, bringing us on boat around to shoot the fisherman doing his thing out in the ocean. This was definitely something very new and refreshing for me, out of the usual urban vibes, and I enjoyed myself shooting the fisherman and exploring the nearby village after that. I am still testing the 20mm PRO lens and collecting sample images, a review will be coming for sure. Of course, I also vlogged this session in POV style video, you can see it here (click). 

Images were all shot with Olympus OM-D E-M1 Mark III and OMSystem 20mm F1.4 PRO lens. 

Normally I'd write an accompanying review article here in this blog together with a YouTube review video, but I am making an exception this time. I was travelling to my hometown Kuching for 2 weeks, and I was busy spending time with mummy dearest, celebrating her birthday, and catching up with relatives and friends. I had very little time for myself while I was in my hometown. The review video was made before that trip, and I made sure I mentioned everything I wanted to say about the lens review there. I shall not repeat them in this article format, I have just returned to Kuala Lumpur and I needed rest and time to recover before I am back fully functional and going full swing again. You can find my review video for the OMSystem 40-150mm F4 PRO lens here (click). 

Instead, I shall share my favourite shots taken with the lens during my test shoots. All images were shot with Olympus OM-D E-M1 Mark III and OMSystem 40-150mm F4 PRO. Lens on loan from OMD World Imaging (local distributor for Olympus/OMSystem products). 

In case you missed it recently I have acquired the dinosaur Nikon D50 and 50mm F1.8 for cheap (USD60) and I have been going nuts doing my shutter therapy with this combo. You can read that article here (click). Someone commented on my YouTube video recently that I should not waste my money buying such old cameras which will collect dust, and use them to fund the OM-1 instead. Man, I have only purchased half a dozen old cameras or so  and they all cost me less than USD300-400 in total, which if I don't like any of them I can resell with minimal loss. How the heck did the guy think that these can fund a USD2200 camera is beyond me. And certainly, NONE of these cameras are collecting dust. 

Just a few weeks ago, my friend Van Ligutom (IG @vanligutom) arranged an outdoor portrait shooting session, and I tagged along. I decided to bring the underused Olympus E-1, a dinosaur from nearly 20 years ago for this session, together with the amazing Zuiko 50mm F2 Macro lens. I also decided to do a POV style video, showing you what's happening around me and in front of my camera before I click the shutter button! It was a much enjoyable session, the E-1 performed above expectations and I got some shots that I personally like. The POV video can be found here (click). 

I managed to get the new OMSystem 40-150mm F4 PRO on loan from OMD World Imaging, the official local distributor for Olympus/OMSystem products in Malaysia. This is not my review yet, this was my first testing session in the field, as I brought it to the Kuala Lumpur Bird Park to get up-close and personal with the birds there (do you think they recognize me after my multiple visits?). Instead of just snapping stills, I also shot some video footage with my Olympus OM-D E-M1 Mark III with the 40-150mm F4 PRO, and I made a video with both the sample images and video footage intermixed with each other. I thought this can give a very good idea on how the lens performs not just for stills, but for video with in body 5-Axis image stabilization and full Continuous AF enabled. In that video I also share my first impressions on the 40-150mm F4 PRO, you can find the video here (click). 

For this blog entry, I shall refrain from discussing my thoughts on the lens for now. I still need to bring it out a few more rounds to thoroughly test it in various shooting environment before I can make my full review, which will definitely be coming. Do give me some time to shoot, and for sure I will share these sample images as always. 

Here are some shots from the Bird Park outing with the OMSystem 40-150mm F4 PRO


Please support me & keep this site going:
The cool thing about having friends tagging along for a photowalk is having some extra photos of myself in action, which can be quite interesting, and I guess I can share them here too! Being a photographer myself I am used to be behind the camera, not in front. Special thanks for Azul and Ripi for these photos! 


I want to talk a little but about the last photograph of me holding one camera in each hand. This was not supposed to happen. 

In an ideal situation, the action camera can be magnetically mounted on my chest via a supplied accessory necklace, freeing both my hands to control the main camera. On that particular day I forgot to bring that said necklace, so I had no way to stick the action camera on myself and I resorted to the more difficult solution, holding it with my hand instead. It was no easy feat controlling two cameras at once. But I think I managed myself quite well. And the fact that I can freely direct the action camera with my hand also means there was less chance of me missing my shot, or having the subject I wanted to record too far off center which was often the case when I had it mounted on my chest. And the extra battery module on the action cam (which was not available for the chest mount) also meant I had to worry less about conserving battery while the action camera was shooting POV video. 

In case you missed the POV video you can check it out here (click). 

I have a lot of complains about the DJI Action 2. The footage is garbage. The 4K video does not look 4K at all, it looks like over sharpened full HD with poor contrast and fine detail retention. Then the color is not so pleasing to look at, looking very digital and lacks the "natural, realistic" look. I also don't like the terrible battery life. 

Having said all that, I must admit the built in microphone in the Action 2 was very impressive, and I treasure this a lot, the convenience of not having to deal with yet another external device, it does simplify my workflow doing POV video. The built in mic is so good I can just run and gun with it, and at this moment I don't think any other action camera competitors, not even GoPro has such high quality audio built in. 

I now use the action camera only for POV video, because of convenience. Even for my own personal vlogs (secondary channel, non photography content) I have started to use my Olympus gear more often, because I just cannot stand how poor the footage from the action camera looks. The quality difference is day and night if compared to what my OM-D cameras can do, and I acknowledge that was not a fair comparison. Nevertheless, I will continue to use the DJI Action 2 for my POV videos, which I enjoy doing so so so much, and hopefully there will be bigger upgrades to the action camera world sooner than later. 

Please support me & keep this site going:
10 years ago Olympus launched their first OM-D camera, the original E-M5. It was a gamechanger, it redefined what a mirrorless camera should be - ruggedly built, weather-sealed, having blazing fast and reliable AF, with built in electronic viewfinder, 5-Axis Image Stabilization, new improved 16MP image sensor with massive upgrade in image quality, and the list went on and on. It took the world by surprise, and many other companies have copied this footprint and built even better cameras ever since. Now, many years later, I thought it would be fun to revisit this original E-M5 and I did a POV street video too! Video here (click). 

In this blog entry I shall just share my images taken with the E-M5, and the lens I paired it with was the awesome Olympus M.Zuiko 25mm F1.2 PRO. 

I got the Olympus M.Zuiko 12-50mm F3.5-6.3 that came together with the first Olympus OM-D, the E-M5 many years ago. It has not received much love, since I do have the superior Olympus 12-40mm F2.8 PRO, and I use bright prime lenses for most of my photography needs, both for my work and for personal projects. Looking at the 12-50mm I personally believe Olympus was trying really hard to over-achieve with this kit lens - it is weather-sealed, it has dedicated macro function, it has versatile 12-50mm zoom range, it can switch between electronic zoom for smooth video shooting and mechanical zoom for those prefer quick response while shooting and also a built in L-Fn (lens customizable function button). Of course it is not the perfect kit lens, we have many options now both from Olympus/OM System and Panasonic, but I'd like to think that this 12-50mm is truly special, and I want an updated Mark II version!


This is one rare occasion where I do not feel like repeating what I have said in my video format here in this blog article. I shall just post my fresh images taken with the 12-50mm kit lens on my Olympus OM-D E-M5 Mark III. I guess, less talk, more photos please!

I made a video recently discussing a budget alternative for Ricoh GR III, in the form of the smallest Olympus Micro Four Thirds camera body paired with the most compact Panasonic 14mm F2.5 pancake lens, which I obtained for less than RM600/USD150. I can't afford to keep buying a new camera that I want so I have to make do with cheaper alternatives. Of course the PEN and pancake combo is not exactly the same as the GR III, there are some drawbacks and compromises, but also a few advantages to this interestingly cheap setup! Video here (click). 


Recently I bought the Pentax K-01 which had quite a funky design and the lens that came with it was 40mm F2.8 pancake. I took a closer look at that lens and brought it out for a few more street photography adventures. The lens is incredibly small, being the world's thinnest lens and it is even slimmer than a camera body cap or a lens cap! Initially I thought making the lens this small there must be some compromises, but boy oh boy was I wrong, coming home from the photowalks I was amazed by what this tiny wonder can do. I think all other camera manufacturers should make more pancake lenses, especially Micro Four Thirds. The pancake slim design can truly minimize the footprint of any gear setup, and Pentax proved that they can create small lenses yet delivering great optical results at the same time. I made a video (you can check it out here) to share my experience using the Pentax 40mm F2.8, I won't repeat what I have said there in this blog entry but I shall share the images here. 

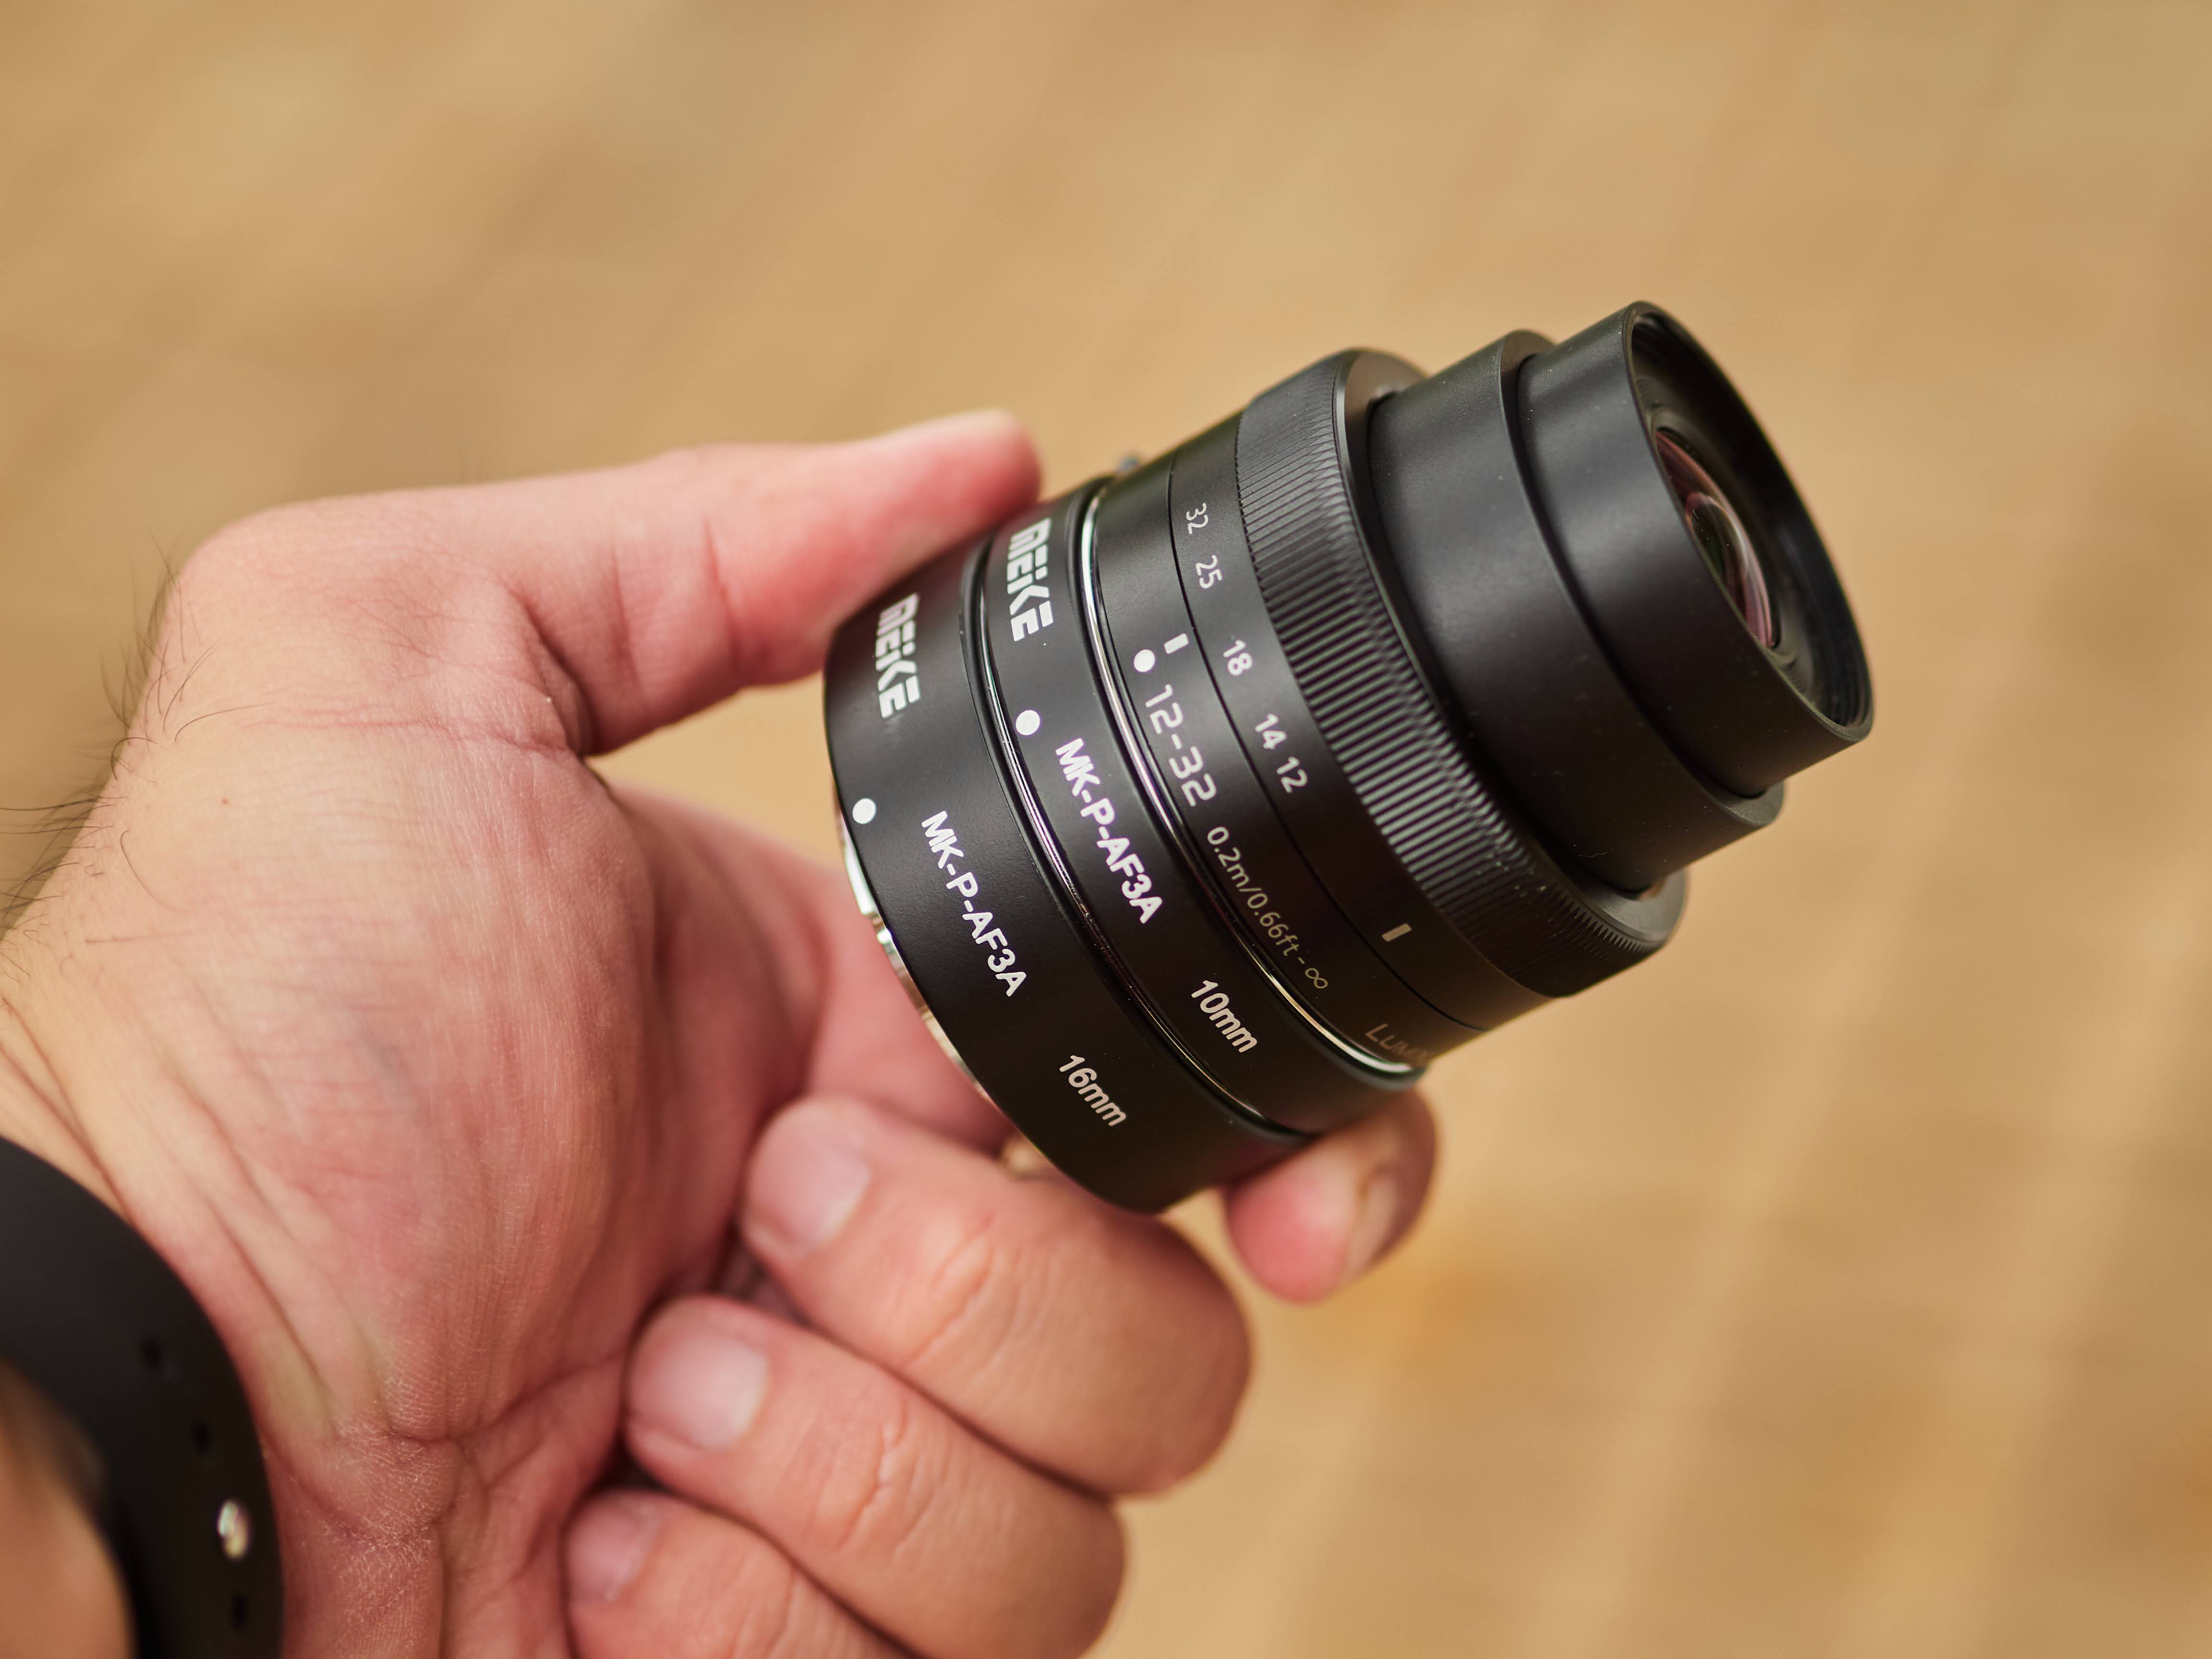
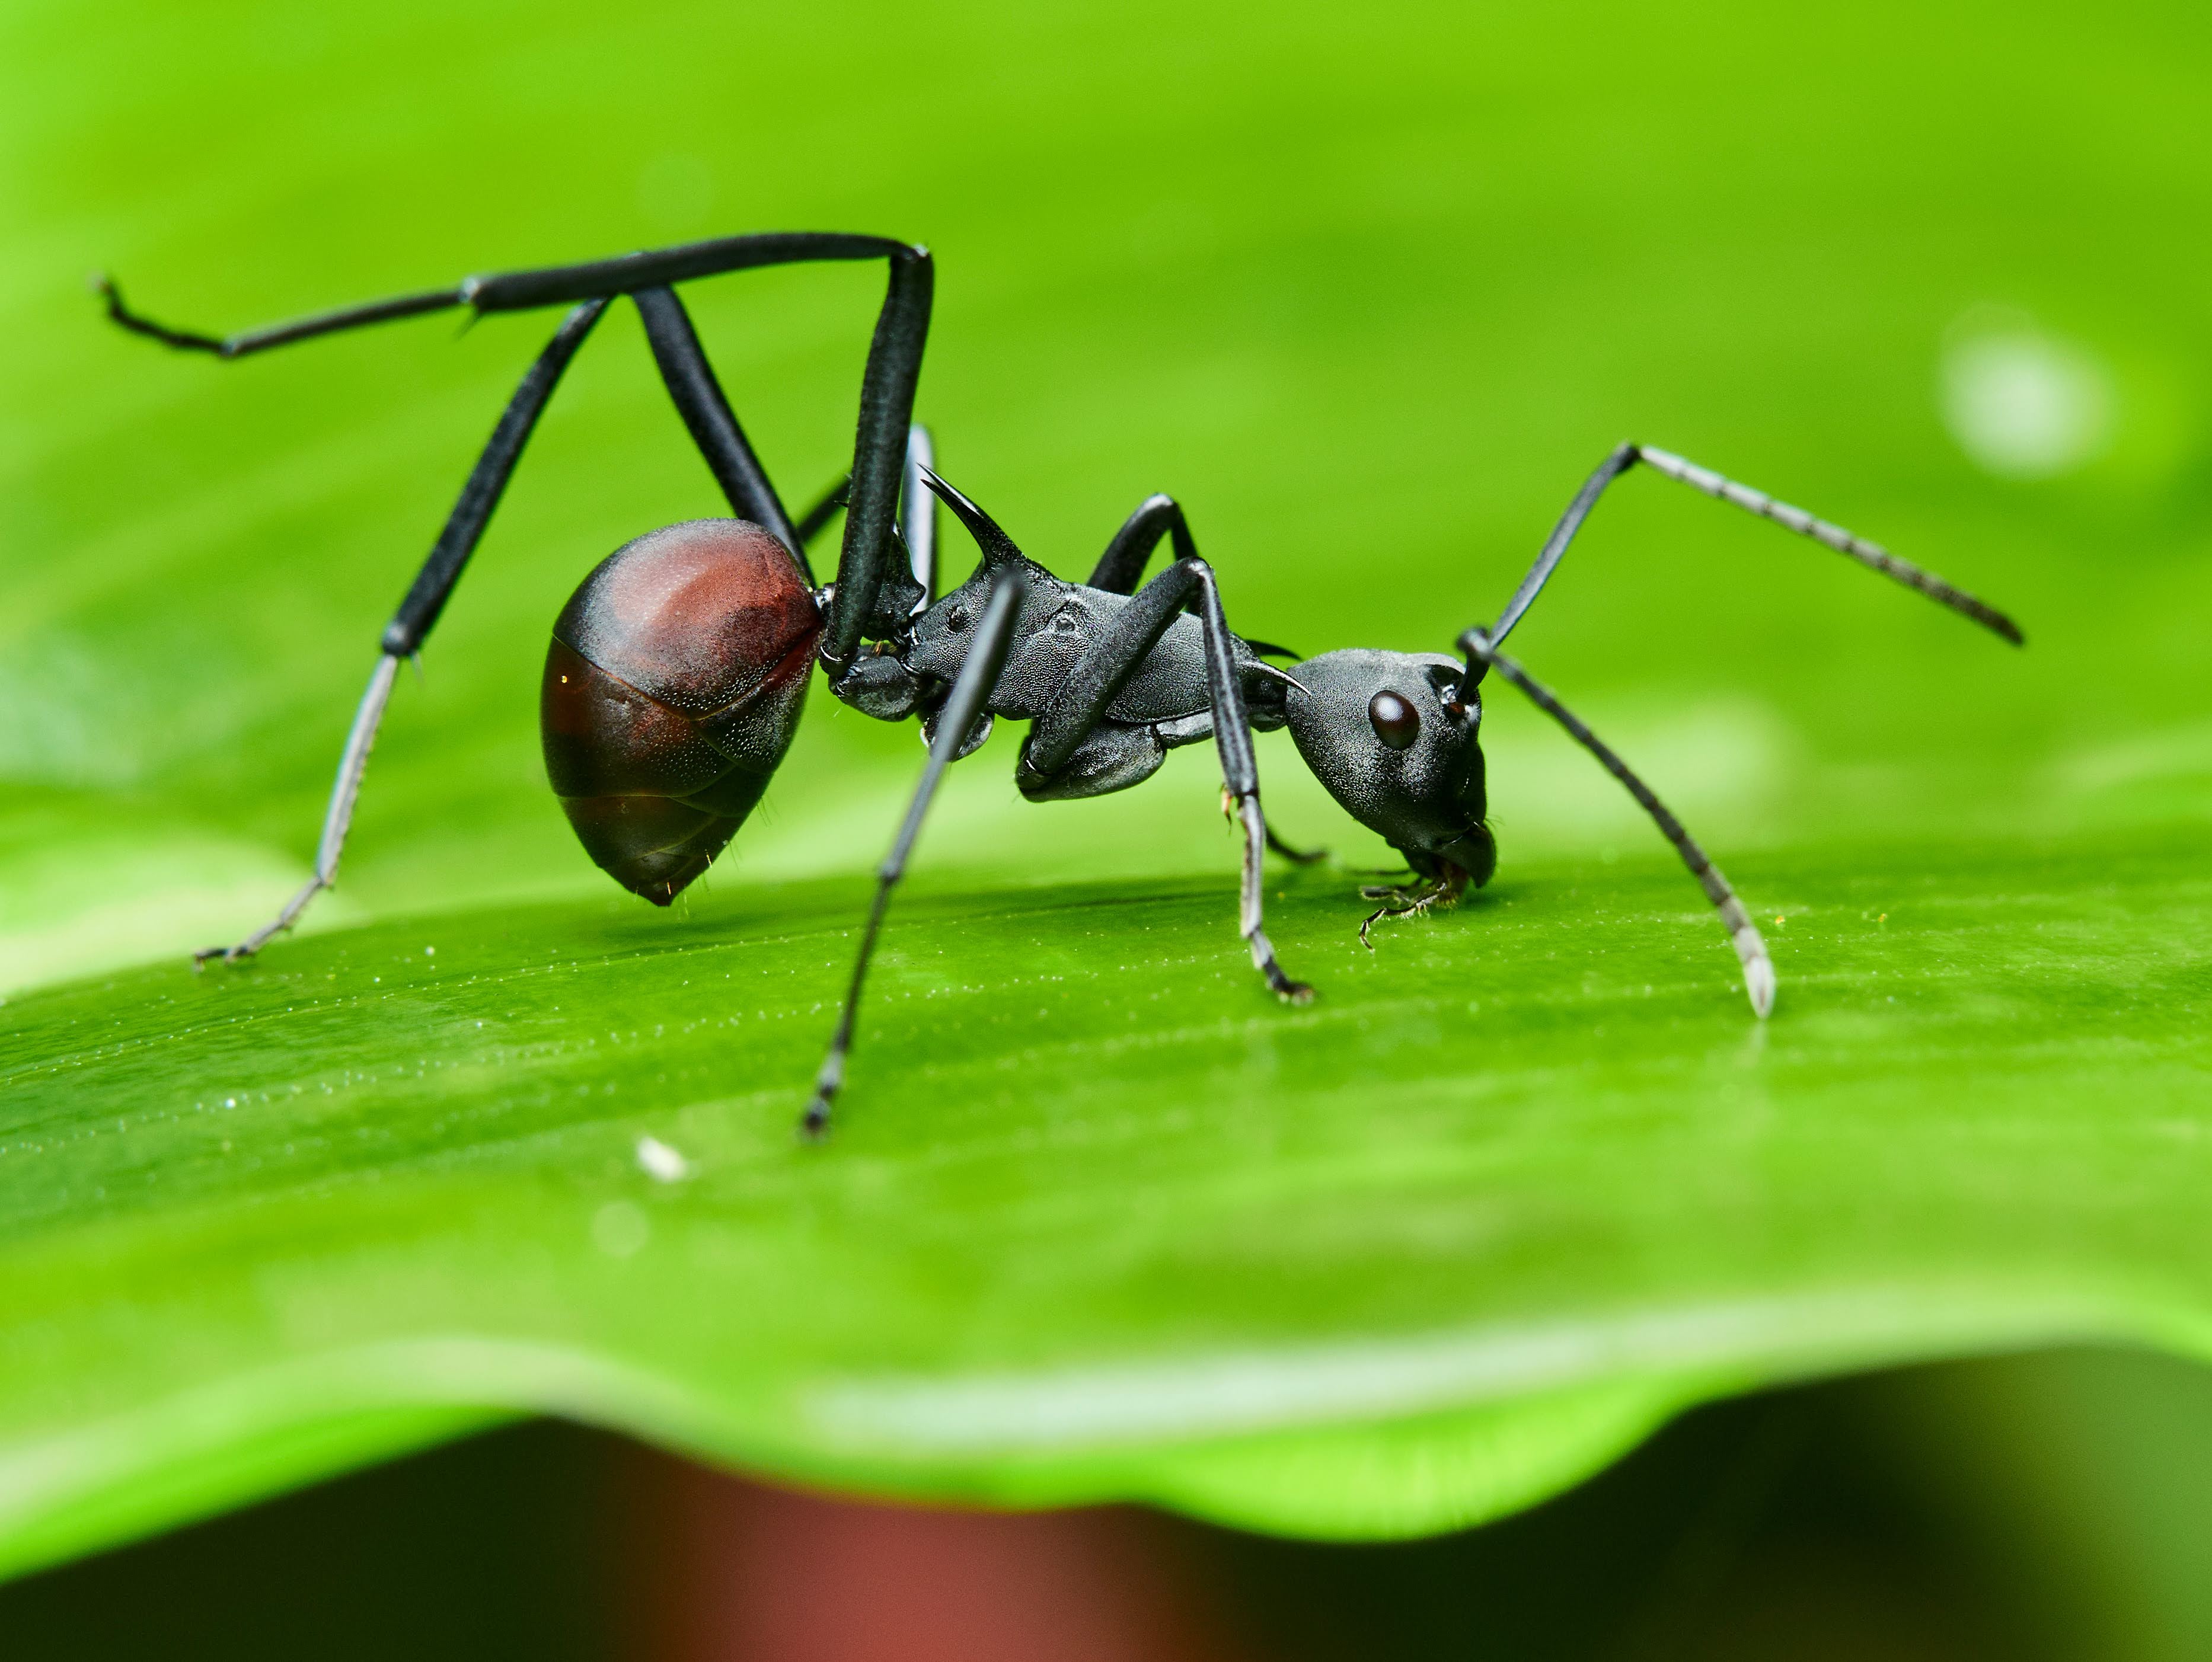
If you do not intend to splurge on a dedicated macro lens, or you don't do too much macro but want the ability to get closer to your subject and achieve higher magnification, then extension tubes can be a great solution. They are cheap and effective, you can turn any lens into macro lens, even the budget lowly kit lens and you get great results out of this setup. The extension tubes are small, light, easy to store in any bag or carry around and they have electronic contacts that enable AF and aperture control while shooting. I find these extension tubes to be so fun to use, and why not get them anyways, even if you have a macro lens because you can achieve even greater magnification, using them on your macro lens! I think this accessory is a no brainer for any photographer, unless you have decided fixatedly that you are not going to do macro, ever. I made a video to show how the extension tubes work, you can find them here (click). 


I actually mistakenly said Extension "Rings" in the video, instead of tubes. I only realized the mistake during editing, and I did originally wanted to reshoot the entire talking head portion of the video. I then realized that would be too time consuming and I'd rather spend the time doing something else, shooting more photos, creating more content or discussing a different topic. That is the thing about making YouTube, I made so many mistakes as a one man crew and sometimes these mistakes cost a lot of time. I need to learn to be able to live with some imperfections. In this case, everything in the video is still valid, my photographs, what the extension "rings" can do, and advantages and disadvantages of using them. Other than the wrongly mentioned term, the video was good to go, so I decided to just publish it and hope for the best. 

As for this blog article, I just want to continue sharing the new images that I have shot. There is something different about viewing images in a website in comparison to seeing photographs in video format. Also, I believe photographs look better here - full JPEG representation minus all the possible compression due to video editing and YouTube's own algorithm to save storage space and bandwidth.


Please support me & keep this site going: